
DIY Scentsy Wax Melts Crafting Your Signature Scents
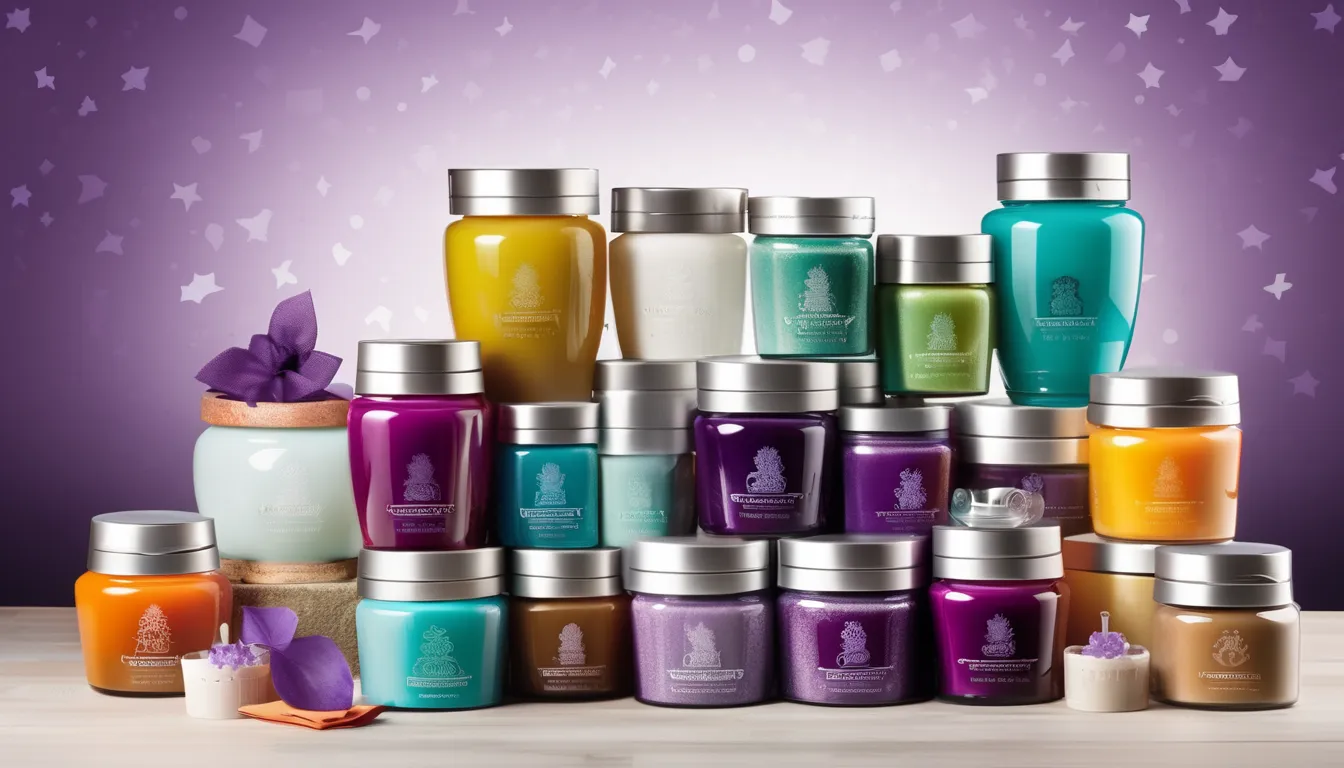
If you’re looking to elevate your home’s ambiance, crafting your own Scentsy wax melts could be the perfect solution. You can choose from various wax types and essential oils to create a scent that truly reflects your personal style. Whether you prefer a fresh, floral aroma or something warmer and richer, the possibilities are endless. Understanding how to blend these elements effectively can lead to unique fragrances that resonate with you. But before you start mixing, there are key considerations you’ll want to explore to ensure your creations are both effective and enjoyable.
Choosing the Right Wax
When it comes to choosing the right wax for your DIY Scentsy wax melts, you have several options, but two popular choices are paraffin and soy wax.
Paraffin wax is widely used due to its affordability and excellent scent throw. It melts easily and holds fragrance well, making it a favorite for many DIYers. However, it’s derived from petroleum, which some people prefer to avoid.
On the other hand, soy wax is a natural alternative made from soybean oil. It’s biodegradable and burns cleaner than paraffin, which appeals to those seeking an eco-friendly option.
Soy wax tends to have a lower melting point, meaning it may require a bit more care in your crafting process. You’ll also notice that the scent throw can be subtler, but many find the natural aroma pleasing.
Ultimately, your choice between paraffin and soy wax depends on your priorities—whether you value cost-effectiveness or natural ingredients.
Whichever option you select, ensure you experiment to find the perfect blend that suits your preferences, allowing you to create delightful, personalized wax melts that fill your space with warmth and fragrance.
Essential Oils for Fragrance
Choosing the right wax is just the beginning of creating your DIY Scentsy wax melts; the fragrance you add will truly define your creations. Essential oils are a fantastic way to achieve the scent profile you desire. They’re concentrated and offer a range of natural aromas that can elevate your melts from ordinary to extraordinary.
When selecting essential oils, think about the mood you want to create. For a calming atmosphere, lavender or chamomile can work wonders. If you’re aiming for something invigorating, citrus oils like lemon or orange can add a refreshing touch. Remember, essential oils vary in strength, so you might need to experiment to find the right balance.
You’ll also want to consider blending different oils for a more complex fragrance. Start with a base note, like sandalwood, then add middle and top notes, such as jasmine or peppermint, to round out your blend.
Always use high-quality essential oils to ensure the best scent throw when melting. By thoughtfully selecting and combining essential oils, you’ll craft a signature scent that reflects your personal style and fills your space with delightful aromas.
Designing Your Scent Blends
To design your scent blends effectively, start by understanding the different fragrance notes and how they interact. Fragrance notes are divided into three categories: top, middle, and base notes. Top notes are the first scents you perceive, middle notes create the heart of the blend, and base notes provide depth and longevity. Balancing these notes will help you craft a harmonious blend.
Here’s a simple guide to help you choose your fragrance notes:
| Note Type | Examples |
|---|---|
| Top Notes | Lemon, Bergamot, Mint |
| Middle Notes | Lavender, Rose, Cinnamon |
| Base Notes | Vanilla, Sandalwood, Musk |
When blending, try starting with one top note, one middle note, and one base note. Experiment with different combinations to see what resonates with you. Remember, the key is to start small and build upon your favorite scents. Keep track of your recipes, so you can recreate your signature blends in the future. Happy crafting!
Melting and Molding Process
After designing your perfect scent blends, the next step is the melting and molding process.
Start by gathering your wax. You can use paraffin, soy, or beeswax, depending on your preference. Cut the scentsy oil burner into small chunks to help it melt more evenly.
Next, place the wax in a double boiler or a microwave-safe container. If you’re using a microwave, heat it in short intervals, stirring frequently to avoid overheating.
Once the wax is fully melted, it’s time to add your essential oils or fragrance oils. Stir well to ensure the scent is evenly distributed throughout the wax. You can experiment with different oil concentrations to achieve the intensity you desire.
Now, prepare your molds. Silicone molds work great because they’re easy to remove the wax melts from after they cool.
Pour the melted wax into the molds carefully, filling them to your desired level. Allow them to cool completely, which usually takes a few hours at room temperature.
Once hardened, gently pop the wax melts out of the molds. You’ve successfully completed the melting and molding process, and your custom scents are ready for enjoyment!
Storing and Using Your Melts
Once you’ve made your delightful wax melts, it’s important to store them properly to maintain their fragrance and quality. Here’s how to ensure your melts stay fresh and ready to use whenever you want to enjoy their lovely scents.
- Cool and Dry Place: Store your melts in a cool, dry area away from direct sunlight. Heat can alter their fragrance and texture, so keep them in a cupboard or drawer.
- Airtight Containers: Use airtight containers or resealable bags to prevent air exposure, which can degrade the scent over time. Label the containers with the scent name and date to keep track of your creations.
- Avoid Moisture: Keep your melts away from moisture, as this can lead to unwanted clumping. Ensure the storage area is dry to maintain the best quality.
When you’re ready to use your melts, simply pop one into your warmer and enjoy the wonderful aroma filling your space.
Conclusion
Creating your own DIY Scentsy wax melts is a fun and rewarding way to fill your space with unique fragrances. By choosing the right wax and experimenting with essential oils, you can craft signature scents that reflect your personal style. Don’t be afraid to play around with different blends and molds during the melting process. With proper storage, your custom creations will be ready whenever you want to enhance the ambiance of your home. Happy melting!